
Every parent knows this feeling: you blink, and suddenly your baby isn’t a baby anymore. A whole year has passed — full of messy breakfasts, toothy grins, first steps, school projects, costume days, scraped knees, and tiny triumphs that deserve way more than just sitting in your phone gallery.
That’s why creating a birthday slideshow has become such a beloved tradition. It’s a chance to revisit the small moments, stitch them together, and tell the story of who your child has become over the past twelve months.
And the best part? You don’t need design skills or complicated video editing software. With a simple slideshow maker program, anyone can turn a year’s worth of snapshots and short clips into a heart-melting movie your child will want to watch again and again.
Why a Birthday Slideshow Is the Ultimate Keepsake

Kids grow too fast — everyone says it, and everyone feels it. A birthday slideshow freezes those fleeting moments in a way that feels alive. Unlike a photo album, a slideshow mixes movement, music, and story.
Your toddler’s wobbly dance moves, your eight-year-old’s proud soccer goal, their whispered “Mom, look!” caught on video — these things hit differently when they’re all together in one emotional little film.
Plus, slideshows are easy to share. Play it during the birthday party, send it to grandparents across the country, or save it so your child can enjoy it when they’re older. It’s a gift for now and for the future.
Step 1: Gather Your Photos & Videos (Without Losing Your Mind)

Collecting a year’s worth of media sounds messy, but here’s how to make it manageable:
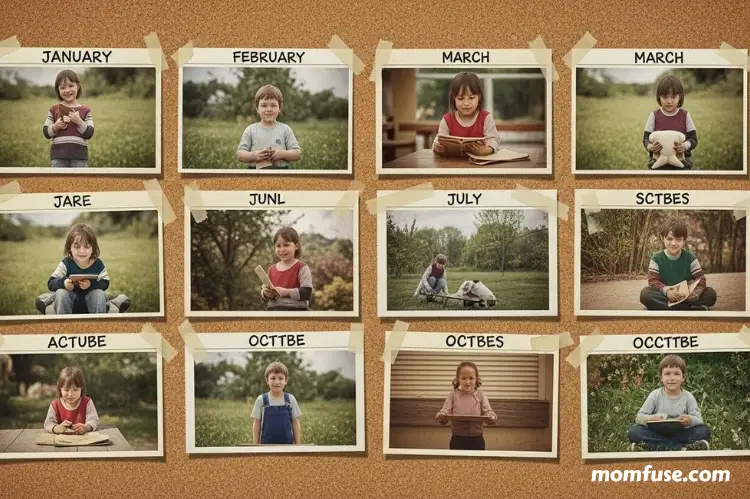
1. Create a single folder labeled “Birthday Slideshow – Year X.”
Pull in everything from your phone, your partner’s phone, the kids’ tablets, and even school apps like ClassDojo or Seesaw.
2. Choose the highlights.
Aim for 60–120 photos and 10–20 short video clips. You want to capture the feeling of the year, not every snack or bath time.
3. Look for “themes.”
These help with storytelling later:
- Morning routines
- Family trips
- Sports or hobbies
- Holiday celebrations
- Friend moments
- Silly bloopers
- Quiet cuddles
You don’t need perfect pictures — the charm is often in the real, unposed ones.
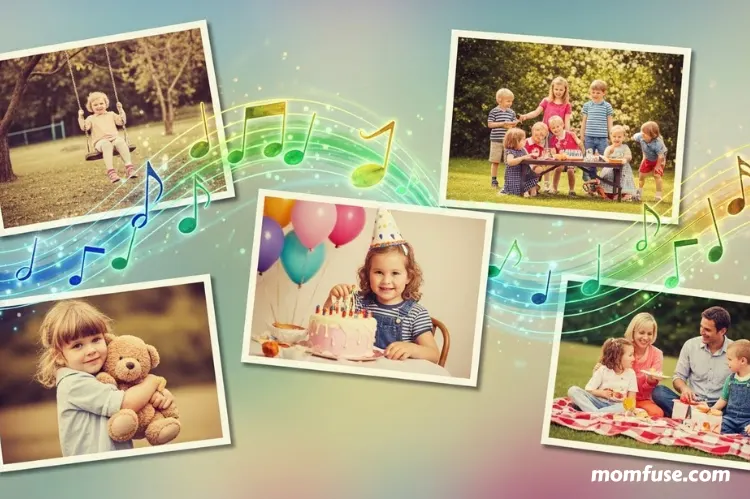
Step 2: Build the Story of the Year
Think of your slideshow like a little movie with chapters. A simple structure works wonderfully:
- Opening: A sweet intro — baby picture, first-day-of-the-year picture, or a title like “Ella’s
- Fabulous Year – Age 6.”
- Growth moments: New discoveries, new achievements, school or daycare highlights.
- Everyday moments: Playtime, art, meals, messy faces.
- Big events: Family vacations, recitals, sports games, birthdays.
- Friendship & family: Cousins, siblings, grandmas and grandpas.
- Finale: A closing photo and a message like “We love you more every day.”
- This structure turns simple media into a story — and kids love seeing their year unfold like a movie.
Step 3: Create the Slideshow with an Easy Tool
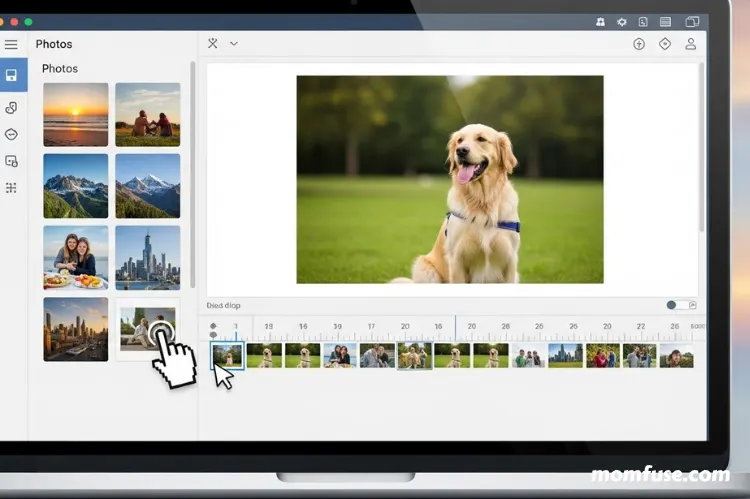
Here’s where your chosen slideshow maker does the heavy lifting. No complicated editing needed if you opt for an easy-to-use program like SmartSHOW 3D.
A beginner-friendly slideshow maker allows you to:
- Drag and drop your photos
- Add short video clips
- Insert text captions
- Choose transitions and animations
- Add music
- Export in high resolution
You can finish a beautiful project in 30–60 minutes.
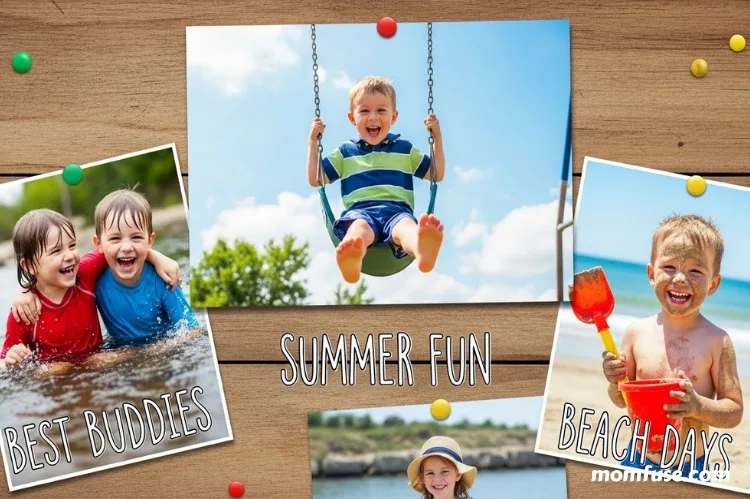
Tips for making it look polished:
- Mix photos and videos instead of grouping them separately.
- Use soft transitions — simple fades look more timeless than flashy effects.
- Keep text short. Think: “First Day of Kindergarten,” “Best Buddies,” “Summer Fun.”
- Place upbeat music in the beginning, gentle music in the emotional parts.
And remember: it doesn’t have to be perfect. Your child will love it because it’s theirs.
Step 4: Choose the Perfect Music
Music makes the mood — it’s the emotional glue of your slideshow.
Here are a few ideas:
Upbeat songs
- Great for playful, active moments
- Use for toddler or elementary school highlights
- Choose something cheerful but not too chaotic
Soft emotional songs
- Ideal for milestone moments
- Use during the first steps, first lost tooth, or quiet family scenes
Instrumental tracks
- Perfect if you want text or voiceovers to stand out
- A good choice if your child is easily overstimulated
Make sure you pick royalty-free music if you’ll share the slideshow online. For example, SmartSHOW 3D offers more than 500 tracks of this kind, for every occasion and style.
Step 5: Add Words That Tell the Story
A sprinkle of text brings the whole thing together.
You can include:
- The child’s age or birthday
- Mini-titles (like chapters)
- Short quotes
- Funny captions
- A message from Mom or Dad at the end
Examples of sweet ending messages:
- “You fill our year with magic.”
- “We are so proud of the person you’re becoming.”
- “Keep shining, little star.”
Text helps connect the visuals and deepens the emotional impact.
Step 6: Put It All Together (and Preview Twice!)

Before exporting:
- Check for blurry photos
- Make sure no clip has too-loud audio
- Ensure transitions aren’t too flashy
- Verify spellings of names
Then save the slideshow in MP4 format so you can:
- Watch it on TV
- Share it during the party
- Send it to family
- Save it in your child’s memory box
Step 7: Share the Magic on Their Special Day

Here are a few fun ways to present it:
- Play it during the birthday party
- Send it as a digital birthday card to grandparents
- Upload it to a private family album
- Make it a yearly tradition (your kids will ask for it!)
And don’t forget to film their reaction — that might be your favorite clip for next year’s slideshow.
Why This Tradition Matters
Life doesn’t slow down, but a birthday slideshow forces us to pause, breathe, and really see our children — who they were, who they are, and who they’re becoming.
- It’s more than a video.
- It’s a love letter.
- A time capsule.
- A birthday gift with a heartbeat.
And it’s something your child will appreciate long after the candles are blown out
Read Next: Exciting Gender Reveal Party Ideas for a Memorable Celebration
Jessica Fuqua is a mom of two who writes about the messy, beautiful reality of raising kids. She believes parenting advice should feel like a conversation with a friend, not a lecture. When she’s not writing, she’s probably reheating the same cup of coffee for the third time.